Send Beautiful Emails with Extensions
Firebase
Feb 15, 2023
Send Beautiful Emails with Extensions
Effective communication with users is one of the keys to the application’s success. From the “forgot password” to offers and promotional emails, the layout of these messages should be visually appealing, while maintaining the brand identity. Implementing and maintaining beautiful and consistent emails, however, can consume a significant amount of time, which only increases with each new project.
Introduction
The Trigger Email from Firestore extension offers a robust and well-maintained solution that allows developers to compose, manage, and send emails directly from the Firestore database. Furthermore, this extension offers advanced features such as email templates, attachments, and time-to-live (TTL) capabilities.
This article will guide you through setting up and using the Trigger Email from Firestore extension and Handlebars to compose visually appealing emails for your applications.
Getting Started
Before proceeding with the installation, make sure you have a Firebase project set up. If you’re new to Firebase, follow these steps to get started:
Once your project is set up, you can easily install the Trigger Email from Firestore extension using the Firebase Console or the Firebase CLI.
Extension Installation
Installing the “Trigger Email From Firestore” extension can be done via the Firebase Console or using the Firebase CLI.
Option 1: Firebase Console
Find your way to the Firebase Extensions catalog, and locate the “**Trigger Email From Firestore**“ extension. Click Install in Firebase Console and complete the installation process by configuring your extension’s parameters.

Option 2: Firebase CLI
For those who prefer using command-line tools, the Firebase CLI offers a straightforward installation command:
firebase ext:install firebase/firestore-send-email --project=projectId-or-alias
Configure Parameters
Configuring the “Trigger Email From Firestore” extension involves several parameters to help you customize it. For a detailed configuration guide, refer to the instructions in this article:
Once you have configured the required fields, set up the templates collection parameter:
Templates collection
A collection of email templates keyed by name. This extension can render an email using a Handlebars template, if the template is specified in the added email document. This parameter should contain the path to the collection of Handlebars templates in your project’s Firestore instance. This will allow the extension to fetch the specified template and apply it to a newly composed email. Don’t worry if your templates collection doesn’t exist yet - choose a name for it and finish the extension installation process.
How it works
After installation and configuration, the extension will listen for any new documents that are added to the configured collection. To see it in action:
- Add a new document: By including a to field, alongside a template field with
**name**and**data**values. The extension will find the template under the**name**in the templates collection (that was specified during installation) and will replace the Handlebars variables in the HTML code of the template with the entries of the**data**map. - Tracking status: While a response from the configured SMTP server is generated, the extension will update the current Firestore document with a status field. This field can include PROCESSING, SUCCESS and ERROR state.
- Sending email request: The extension will send an email to the intended recipients along with the email content.
- Receive Response: When the SMTP server has returned a response, the returned response information is added to the Firestore document. The documents status field is also updated.
- Regenerating a response: Updating the state field to “RETRY” will regenerate a response.

Create Templates Collection
Once the extension is installed, proceed to Firestore and create a new collection, using the name specified in the “Templates collection” parameter during the extension configuration. Each document in this collection will function as a separate Handlebars template.
Add a Template
Give each document a memorable ID that you use as the template name in the documents you write to your templates collection.
The template document can include any of the following fields:
- subject: A template string for the subject of the email.
- text: A template string for the plaintext content of the email.
- html: A template string for the HTML content of the email.
- amp: A template string for the AMP4EMAIL content of the email.
- attachments: An array of attachments with template strings as values; Nodemailer options supported: utf-8 string, custom content type, URL, encoded string, data URI, and pre-generated MIME node (be aware that your email has no access to the cloud server’s file system).
An example template might have an ID of following and content like:
{
  "subject": "@{{username}} is now following you!",
  "html": "Just writing to let you know that <code>@{{username}}</code> ({{name}}) is now following you.",
  "attachments": [
    {
      "filename": "{{username}}.jpg",
      "path": "{{imagePath}}"
    }
  ]
}
Create HTML Template
Handlebars templates support HTML content. When creating your template, make sure to follow HTML email template guidelines and ensure that your CSS code is inlined.
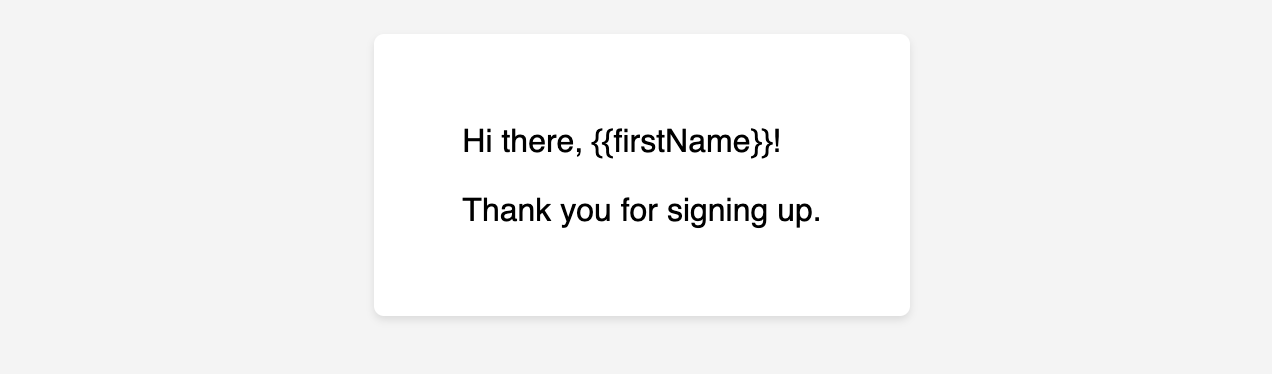
We will be making a simple layout for a Welcome email that will be sent to newly registered users of our Firebase application. Start by creating a new HTML file on your computer and compose the email layout using inline CSS and tables.
In this example, we will be using a Handlebars variable called firstName, represented by double curly braces {{}} . When sending the email, the value of this variable will be dynamically passed in from the Firestore document.
<!DOCTYPE html>

<html lang="en">
  <head>
    <meta name="viewport" content="width=device-width, initial-scale=1.0" />
    <meta http-equiv="Content-Type" content="text/html; charset=UTF-8" />
    <title>Thank you for signing up, {{firstName}}!</title>
  </head>

  <body
    style="font-family: Helvetica, sans-serif; background-color: #f4f4f4; margin: 0; padding: 0;"
  >
    <table
      role="presentation"
      border="0"
      cellpadding="0"
      cellspacing="0"
      class="body"
      style="border-collapse: separate; background-color: #f4f4f4; width: 100%;"
      width="100%"
      bgcolor="#f4f4f4"
    >
      <tr>
        <td
          class="container"
          style="font-family: Helvetica, sans-serif; font-size: 16px; vertical-align: top; max-width: 600px; padding: 0; padding: 24px; width: 600px; margin: 0 auto;"
          width="600"
          valign="top"
        >
          <div
            class="content"
            style="box-sizing: border-box; display: block; margin: 0 auto; max-width: 600px; padding: 0;"
          >
            <table
              cellpadding="0"
              cellspacing="0"
              border="0"
              align="center"
              style="max-width: 600px; margin: 0 auto; background-color: #ffffff; padding: 20px; border-radius: 5px; box-shadow: 0px 2px 4px rgba(0, 0, 0, 0.1);"
            >
              <tr>
                <td
                  class="wrapper"
                  style="font-family: Helvetica, sans-serif; font-size: 16px; vertical-align: top; box-sizing: border-box; padding: 24px;"
                  valign="top"
                >
                  <p
                    style="font-family: Helvetica, sans-serif; font-size: 16px; font-weight: normal; margin: 0; margin-bottom: 16px;"
                  >
                    Hi there, {{firstName}}!
                  </p>

                  <p
                    style="font-family: Helvetica, sans-serif; font-size: 16px; font-weight: normal; margin: 0"
                  >
                    Thank you for signing up.
                  </p>
                </td>
              </tr>
            </table>
          </div>
        </td>
      </tr>
    </table>
  </body>
</html>
Opening this HTML file, we will see this:
Add HTML Template to Firestore
Before you begin, ensure that the Firebase SDK is initialized and you can access Firestore.
const firebaseConfig = {
  // Your Firebase configuration keys
};

firebase.initializeApp(firebaseConfig);

const db = firebase.firestore();
Create a new document under the templates collection you specified when configuring the extension. Set the html field of your template to the HTML layout you created.
Create a new document in the templates collection that you specified during the extension configuration. Paste the HTML code of your email layout into the html field of your template.
You will end up with something like this:
/** Add a new Firestore document */

const document = await setDoc(doc(db, 'template-collection', 'template-name'), {
 subject: "Thank you for signing up, {{firstName}}!",
 html: "<!doctype html><html lang="en">... the rest of the HTML code",
});
All set! We are ready to send out our first email.
Send the email
Add a new document to the configured mail collection to send the email.
The template object should contain the fields:
- name (string) - the name of the template (document ID in the templates collection)
- data (map) - an object with all the variables. For this example, we are using firstName.
/** Add a new Firestore document */
const document = await addDoc(collection(db, 'mail-collection'), {
to: ['someone@gmail.com'],
template: {
name: 'template-name',
data: {
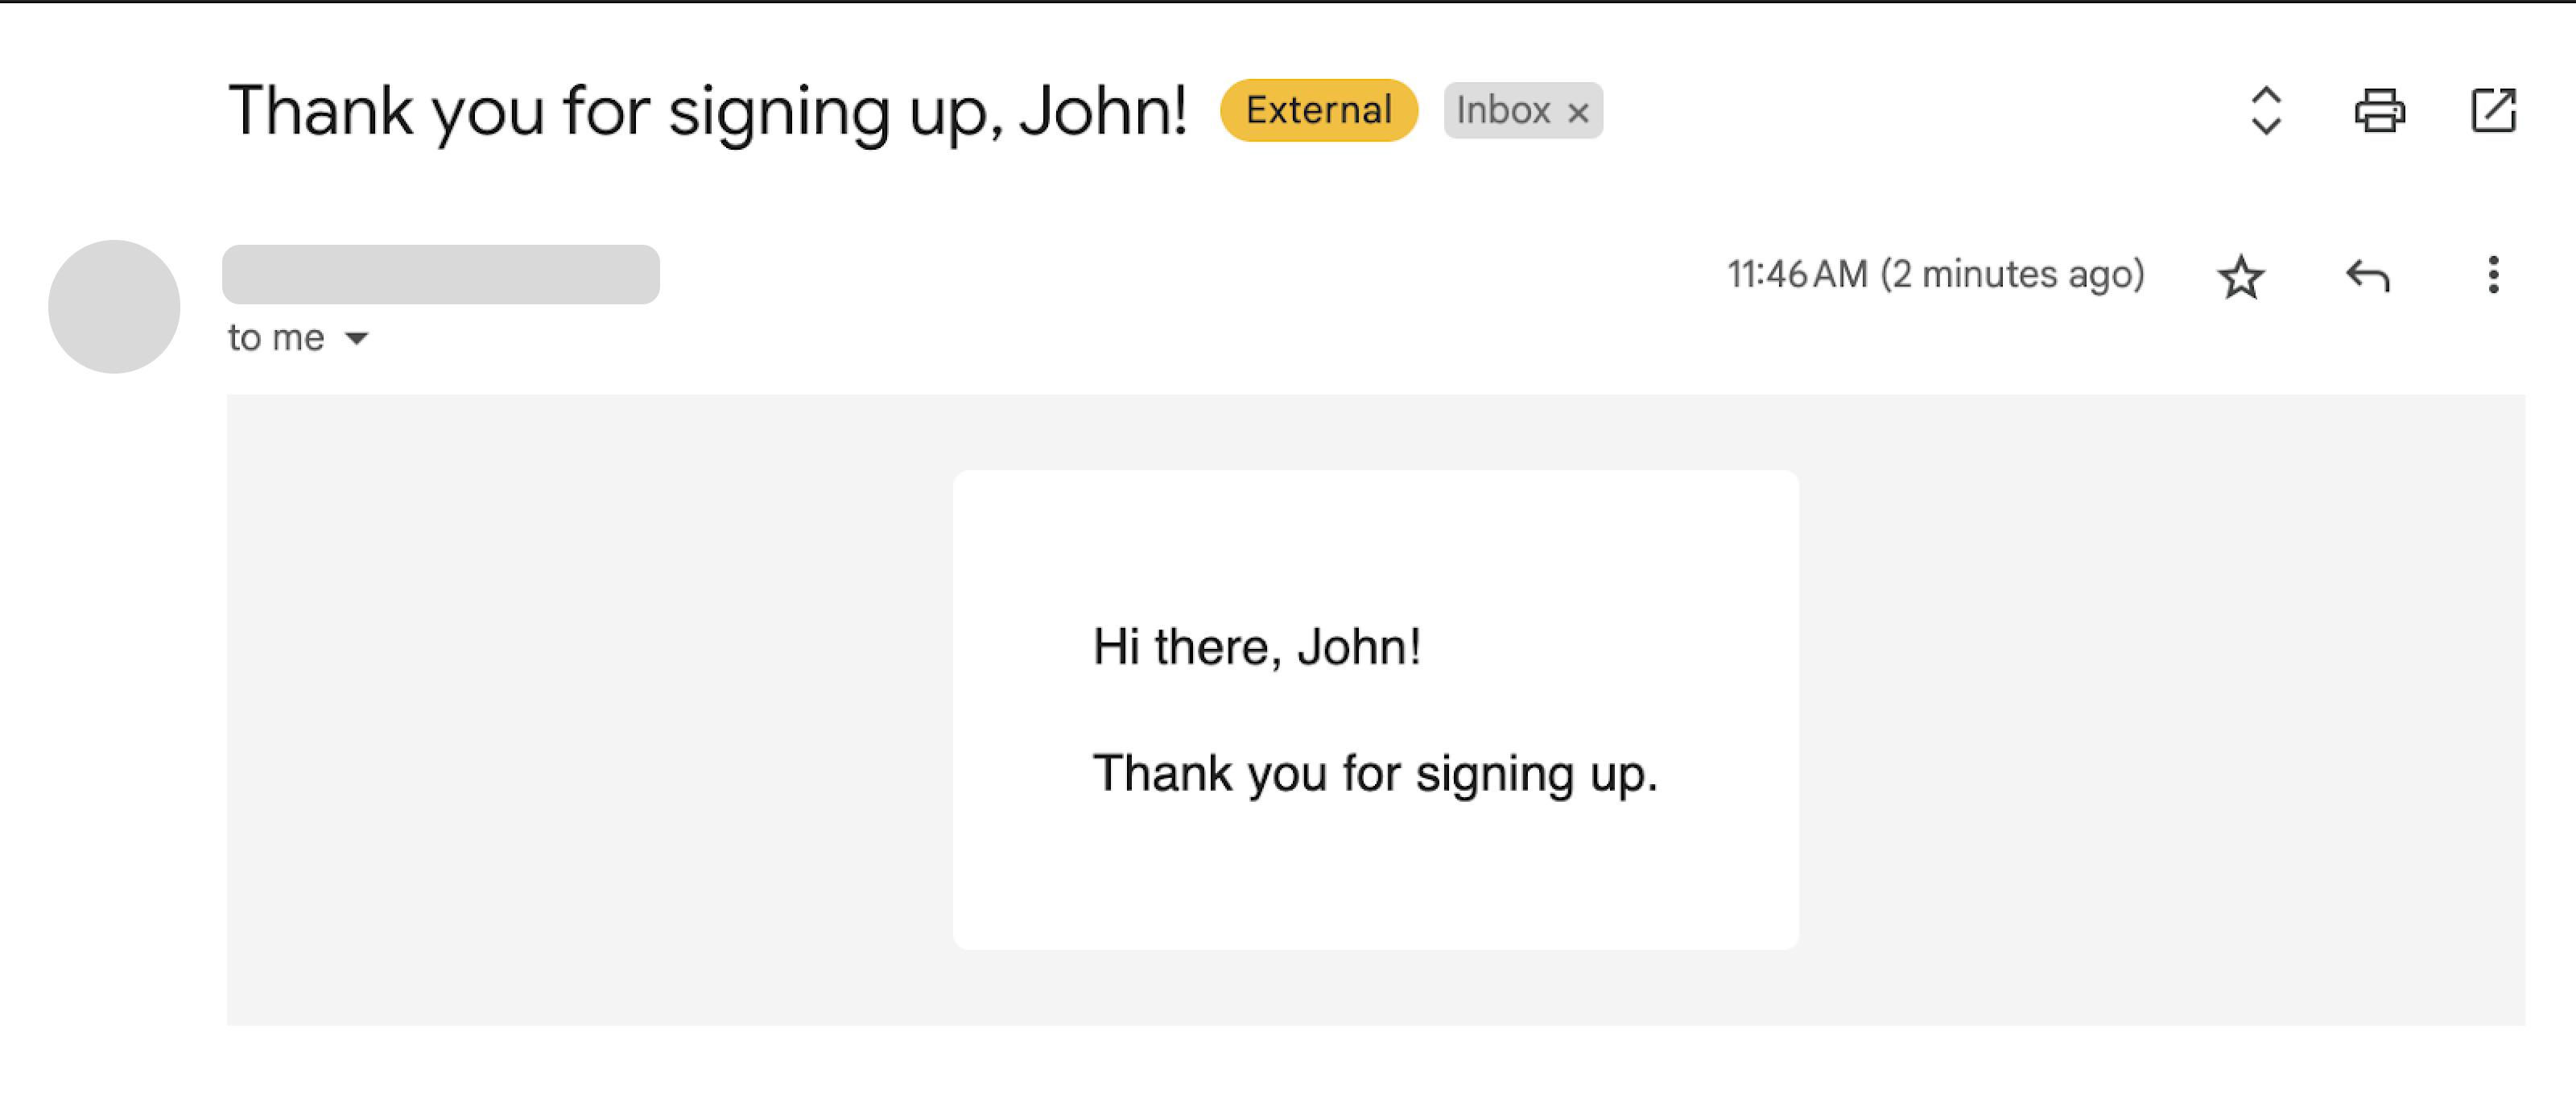
firstName: 'John',
},
},
});
Wait for the email to be created and sent. This should be the end result:
Conclusion
This example shows how you can easily add email capabilities to your application, while also including HTML templates with Handlebars.
This should help you unleash your imagination and create unique and beautiful emails that will make your application stand out. Make sure to explore other exciting features of these extensions, including TTL capabilities and email attachments.